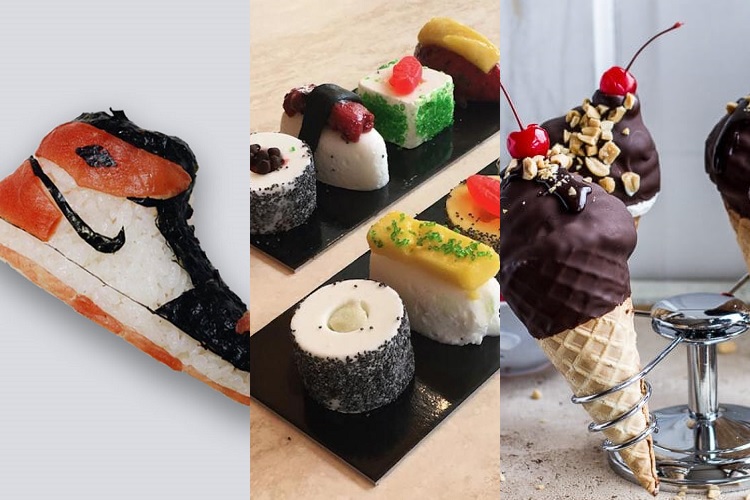
If you’re feeling peckish then how about tucking into some trainers that are actually sushi, sushi that's actually ice cream, and ice cream that's actually cake?! That all makes sense, right? So, read on if you want to tickle you taste buds but batter your brain.
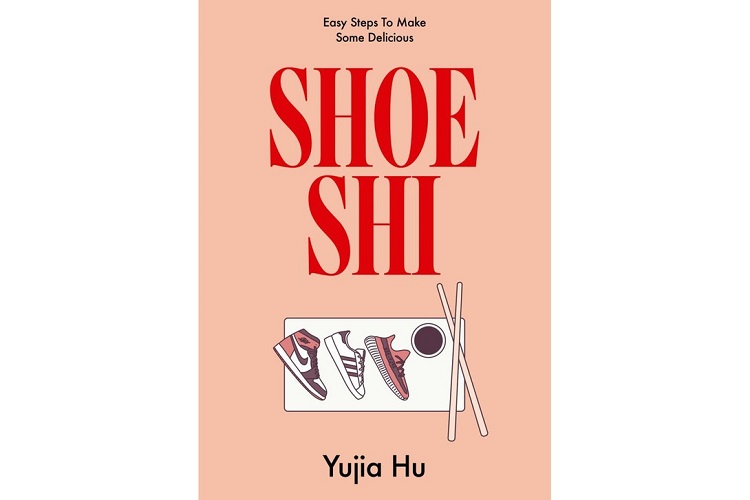
Shoe-Shi – never has a word been easier to create, and more appropriate. Sneakers modelled out of the Japanese delicacy sushi.
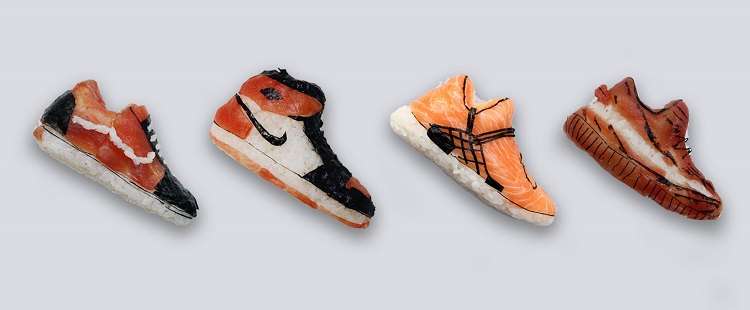
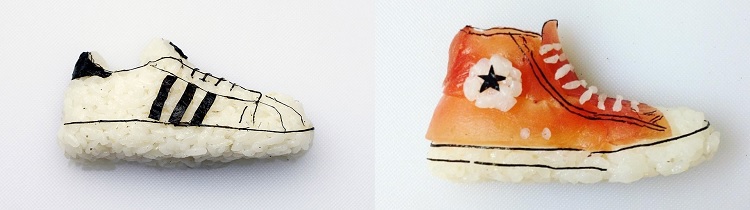
Shushi chef and illustrator Yujia Hu is the man behind the show-shaped delicacies. A sports lover and foodie, he transforms tiny strands of the black seaweed nori and smooth slips of pink fish to give each rice-based ‘shoe’ its designer feature.
Each shushi show is athletic in style and branding, but by miniaturizing and rendering them in an innately delicate edible medium Hu tempers the mimicry of mainstream sneaker brands with the exquisite presentation of a plate of sushi.
Nike, adidas, Yeezy, Vans – you name it he has created it, and he actually has a book out called Show Shi (what else) which walks the reader through the process of creating the representation.
Take a look below for a small sample of some of his creations, and please head on over to his Instagram account here to view all his works of art, which aren’t just confined to trainers.
We do wonder if he does eat any of them after he’s finished taking the pictures.

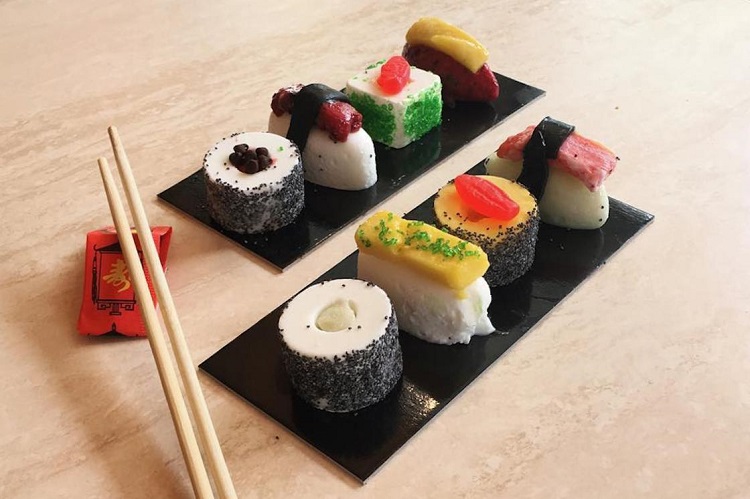
OK, so that’s trainers that’s actually sushi, what about sushi that's actually ice cream?
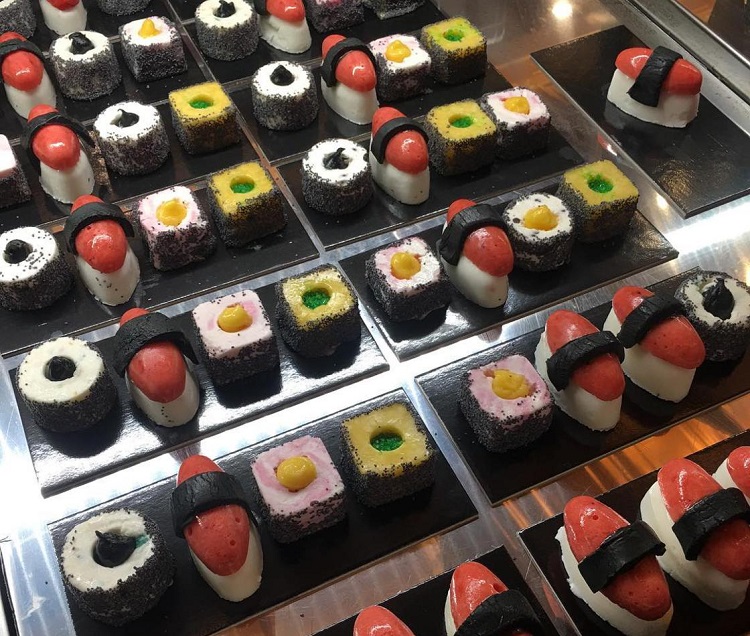
Eating ice cream with chopsticks sounds about as ridiculous as it can get, but you can do just that at an ice cream parlour in New York. Ice Cream Sushi has been created by Gelarto, who had the idea of combining Italian gelato with the art of sushi.
And if that wasn’t enough to confuse you, with whopping 46 flavours available including chocolate chip, mint, cherry cream, salted caramel, and mango to name a few, it could give you a head rush just deciding what frozen delight to have.
They too have an Instagram page which you can find here.
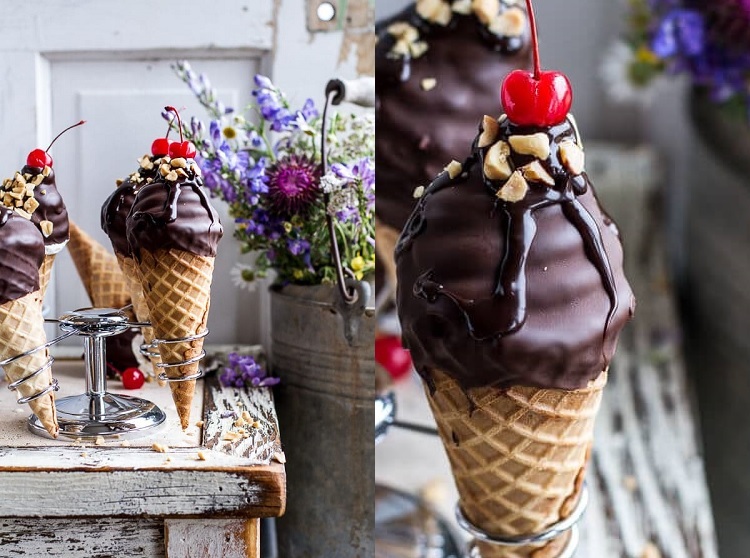
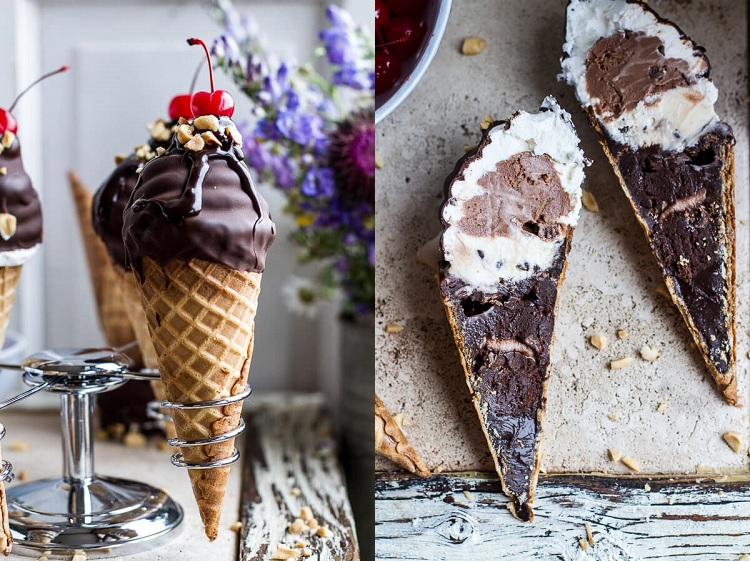
So that’s trainers that’s actually sushi, sushi that’s actually ice cream, now we have ice cream that’s actually cake, and if you think the title of Hot Fudge Brownie & Double Scooped Ice Cream Sundae High Hat Cupcakes In A Cone is a bit of a mouthful then you ain’t see nothing yet until you’ve tried it.
And just in case you thought that you weren’t getting a recipe there will be one along in a minute. You’re gonna have to work for it though, as something this good doesn’t come easily, but it is worth the effort. In fact if you’ve ever made brownies or cookies then it will be a doddle.
How you decide to eat it will be your only dilemma here. You can eat like a real ice cream, which will be fun but a bit messy (you have been warned), or put it on a bowl or plate and deconstruct it or smash it.
Hot Fudge Brownie & Double Scooped Ice Cream Sundae High Hat Cupcakes…In A Cone Recipe
Prep time = 1 hours / Cook time = 15 mins / Total time = 1 hour 15 mins
Makes 12 Units
Ingredients
Cakes:
- 12 cake cones + 12 sugar cones OR 12 waffles cones
- 1 cup warm fudge sauce, homemade ore store-bought (recipe follows)
- 1 stick (8 tablespoons) unsalted butter
- 2 ounces milk chocolate, chopped
- 3/4 cup granulated sugar
- 2 teaspoons vanilla extract
- 1 tablespoon instant coffee
- 2 large eggs
- 1/2 cup cocoa powder
- 1/2 cup all-purpose flour
- 1/4 teaspoon kosher salt
- 12 scoops cookie dough ice cream
- 12 scoops peanut butter chunk chocolate ice cream
Frosting + Chocolate Coating
- 2 1/2 cups cold heavy cream
- 3 tablespoons powdered sugar
- 2 cups semi-sweet or milk chocolate chips
- 3 tablespoons coconut oil
- Maraschino cherries and chopped peanuts, for serving
Instructions
- Pre heat the oven to 350 degrees F. and place a rack in the lower 3rd of the oven.
- Line 12 cupcake tins with a square sheet of tin foil. Place 1 cake cone in the center of each cupcake mold and form the foil around the cone, making sure it is secure and stable. If you are using a sugar of waffle cone place one cone inside the cake cone, then use another square of tin foil to secure and stabilize the cones, if needed. Pour 1-2 teaspoons of fudge sauce into the bottom of each prepared cone.
- Put the butter and milk chocolate in a medium microwave-safe bowl. Microwave in 30-second intervals, stirring in between, until melted and smooth. Add the sugar and whisk until completely combined. Add the vanilla, coffee, and eggs and whisk until smooth. Stir in the cocoa powder, flour, and salt until smooth and just combined. Try not to overmix the batter; it will be thick.
- Divide the batter among the cones, filling them about 3/4 of the way full (or a little more). Be careful not to tip the cones over as you work. Bake for 12-15 minutes, until the brownies are set on top, the waffles cones will brown around the tops. Remove from the oven and allow to cool completely in their molds.
- Make sure you have enough room in your freezer for the tray of cupcakes to sit flat. Dollop the tops of each cone with a little fudge sauce. Working as quickly as you can add 1 scoop of cookie dough ice cream to the top of each cone and then add 1 scoop of chocolate peanut butter ice cream right on top of the cookie dough ice cream. Immediately place the whole tray of cones in the freezer. Freeze for at least 4 hours or preferably overnight.
- To frost the cupcake cones, whip the cream in the bowl of a stand mixer until stiff peaks form. Stir in the powdered sugar. Transfer whipped cream to a large pastry bag fitted with a 1/2-inch plain pastry tip (or just a gallon size ziplock bag with the corner snipped off).
- Pipe a spiral of frosting into a cone shape, start with the bottom scoop of ice cream and work your way up until you get a nice point at the top. Place the cupcakes back in their moulds and freeze for 1 hour or longer.
- Make the chocolate coating. Combine the chocolate chips and coconut oil in a medium sauce pan over medium heat. Stir frequently until chocolate is almost melted. Remove from heat and stir until completely melted and smooth. Allow to cool 15-20 minutes before dipping the cupcakes.
- Holding each cupcake by its cone, dip the cupcakes into the chocolate to coat completely, allowing excess to drip off. Place the cupcake back in its mould and place in the freezer until ready to eat. Repeat with the remaining cupcakes, placing each one in the freezer as you work.
- Drizzle each cupcake with warm fudge sauce (but not piping hot or it will melt the chocolate shell!), sprinkle with chopped peanuts and place a cherry on top. Devour!
For this and more great recipe like it please head over to halfbakedharvest.com